Understanding Catalog Avatar Creator item slots is the first real step toward building avatars that actually look the way you imagine them. Every piece of clothing or accessory you pick from the catalog lands in a specific slot on your character, and knowing which slot does what saves you from the frustration of watching a hat replace your hair or a scarf overwrite your necklace. The system is surprisingly straightforward once you see the full map of slots, and it directly affects how you approach try-ons, purchases, and even the new bulk checkout flow.
The in-game catalog mirrors the Roblox Catalog with hats, hair, faces, accessories, shirts, pants, t-shirts, layered clothing, classic clothing, bundles, limiteds, limited U items, bodies, and UGC animation packs, according to the official Catalog Avatar Creator page on Roblox. Every item can be tried on for free, and purchases sync instantly to your Roblox inventory so they work in all games. This guide breaks down every Catalog Avatar Creator item slot, explains how the try-on system handles conflicts, and walks you through buying an entire outfit at once so you never mis-click your way into a mismatched look again.
The Complete Catalog Avatar Creator Item Slots Map
Your avatar has distinct item slots that mirror the classic Roblox character structure, and the editor assigns each catalog item to exactly one of them. The core slots are hat, hair, face, shirt, and pants, while accessories spread across five additional positions: neck, shoulders, waist, front, and back. This means you can layer a hat, a pair of glasses, a scarf, shoulder armor, a belt, a chest item, and a backpack all at the same time without any of them fighting for the same space.
The slot system becomes especially important when you start mixing classic clothing with layered clothing, because those two categories behave differently. Classic shirts and pants replace the base body texture, while layered clothing sits on top of the body as separate 3D geometry. If you try to equip both a classic shirt and a layered jacket, the game has to decide which one wins the torso slot, and that decision follows a clear priority order rather than a random pick.
| Slot Category | Specific Slots | Example Items | Conflict Behavior |
|---|---|---|---|
| Head | Hat, Hair, Face | Fedora, Spiky Hair, Smile | One item per slot; two hats conflict |
| Torso | Shirt, Jacket, Classic Shirt | T-Shirt, Layered Hoodie | Classic and layered conflict on torso |
| Accessories | Neck, Shoulders, Waist, Front, Back | Scarf, Pauldrons, Belt, Chest Rig, Backpack | Each sub-slot holds one item independently |
| Lower Body | Pants, Shoes | Classic Pants, Sneakers | One item per slot; shoes sit under pants |
The try-on system places an item into its slot instantly when you click it, which means you can preview a full outfit piece by piece without committing to a purchase. However, when two items share the same slot, the editor replaces the current item rather than stacking them, so your old hat disappears the moment you try on a new one. This behavior is consistent across all slots, and it is the single most common source of confusion for new players who wonder where their previous accessory went.
How Slot Conflicts Are Resolved
When you try on an item that occupies a slot already in use, the game does not ask for confirmation — it simply swaps the old item out. This is by design, because it keeps the preview flow fast and lets you cycle through dozens of options in seconds. If you want to keep the old item, you need to remember what it was and re-equip it afterward, which is why the saved avatar feature becomes so valuable for experimenting.
The conflict resolution also applies to limiteds and limited U items, which follow the exact same slot rules as regular catalog pieces. A limited hat still occupies the hat slot, and a limited face still replaces your current face when you try it on. The only difference is the price tag and the rarity, not the slot behavior, so you can mix a rare limited with cheap classic items as long as they do not share a slot.
How to Try On and Equip Items Across Slots
The try-on flow is the heart of the Catalog Avatar Creator experience, and it works the same way for every item type in the catalog. You browse the in-game catalog, click any item, and the editor immediately places it into its designated slot on your avatar preview. This instant feedback loop is what makes the item showcase feature so powerful, because you can rapidly test combinations across all slots before spending a single Robux.
To equip items effectively, you need to understand the slot priority when items conflict. The editor follows a simple rule: the most recently tried-on item wins the slot, and the previous occupant is removed from the preview. This applies to hats, hair, faces, shirts, pants, and all five accessory slots, so there is no hidden logic that favors expensive items over cheap ones.
| Action | What Happens | Slot Impact |
|---|---|---|
| Try on a hat | Hat appears on head | Replaces current hat slot item |
| Try on a scarf | Scarf wraps around neck | Replaces current neck slot item |
| Try on a backpack | Backpack appears on back | Replaces current back slot item |
| Try on a classic shirt | Torso texture changes | Replaces current shirt slot item |
| Try on layered jacket | Jacket geometry appears | Replaces current torso clothing item |
The try-on system also handles bundles differently from individual items. When you try on a bundle, the game applies every item in that bundle to its respective slot, which means a bundle can simultaneously change your hat, shirt, pants, and accessories in one click. This is incredibly useful for quickly testing a full themed look, but it also means the bundle will overwrite any items you had equipped in those slots.
The Item Showcase and Slot Visualization
The item showcase view in the catalog displays each item with its slot type clearly labeled, so you know exactly where it will land before you click. This labeling is a huge quality-of-life improvement, because it eliminates the guesswork when you are browsing through hundreds of accessories. The showcase also shows whether an item is a classic piece or a layered piece, which helps you predict how it will interact with your current outfit.
For players who want to see the full slot layout at a glance, the editor interface highlights all occupied slots with a subtle glow, making it easy to spot which positions are still empty. This visual feedback is especially helpful when you are building a complete look from scratch, because it shows you exactly what you have covered and what is missing. The combination of labeled showcases and highlighted slots turns the Catalog Avatar Creator item guide 2026 experience into something you can learn in minutes rather than hours.
Bulk Purchase: How to Buy an Entire Outfit at Once
The bulk purchase feature is one of the most convenient additions to Catalog Avatar Creator, because it lets you buy every item of an outfit in a single checkout instead of clicking through each piece individually. This feature uses Roblox's Bulk Purchase API, which means the transaction is processed through Roblox's official systems and the items sync to your inventory just like individual purchases. The confirm dialog shows the total Robux price before you commit, so there are no surprise charges at the end.
To buy an entire outfit, you first need to assemble the look in the editor using the try-on system, then select the bulk purchase option from the outfit menu. The game collects all the items currently equipped in your preview and presents them as a single purchase list. This is ideal for community outfits and saved avatars where you like the whole look rather than individual pieces, because it removes the tedious process of buying each item separately.
| Purchase Method | Steps | Best For |
|---|---|---|
| Individual Purchase | Click item → Confirm → Repeat | Testing single pieces |
| Bulk Purchase | Assemble outfit → Select bulk → Confirm | Full outfits and saved avatars |
| Bundle Purchase | Click bundle → Confirm | Themed sets with fixed items |
The bulk purchase flow also handles limiteds correctly, which is a common concern for players who worry about accidentally buying a rare item. When you include a limited in your outfit and select bulk purchase, the confirm dialog clearly lists the limited with its price, so you can remove it from the list if you only wanted to buy the cheap pieces. This level of control makes bulk purchasing safe even when your outfit includes high-value items.
How to Buy an Entire Outfit Catalog Avatar Creator Style
The process for buying an entire outfit is straightforward, but there are a few details worth knowing before you start. First, you need to have all the items you want equipped in the editor, because the bulk purchase list pulls directly from your current preview. Second, you should check the total price in the confirm dialog, because the list includes every equipped item, even ones you might have forgotten about.
The bulk purchase feature is particularly useful when you are recreating an outfit from a community showcase or a friend's avatar, because you can load the outfit, verify the slots, and buy everything in one go. This saves a significant amount of time compared to the old method of buying each item individually, especially for outfits with six or more pieces. The feature also reduces the risk of missing an item, since the purchase list is generated automatically from your equipped slots.
Limiteds and Special Items in the Slot System
Limiteds and limited U items follow the exact same slot rules as regular catalog items, which means they occupy the same positions and conflict with the same categories. A limited hat still goes in the hat slot, a limited face still replaces your current face, and a limited accessory still takes its designated accessory slot. The only practical difference is the price and rarity, not how the item behaves in the editor.
The item showcase for limiteds displays the same slot information as regular items, so you can see exactly where a rare piece will land before you commit to the purchase. This is especially important for expensive limiteds, because you want to be certain the item fits your current outfit before spending a large amount of Robux. The try-on system lets you preview limiteds for free, which is the best way to test a rare item without any financial risk.
| Limited Type | Slot Behavior | Purchase Consideration |
|---|---|---|
| Limited Hat | Occupies hat slot | Check for head item conflicts |
| Limited Face | Occupies face slot | Replaces current face |
| Limited Accessory | Occupies specific accessory slot | Verify slot availability |
| Limited U Item | Same as regular item | Confirm price before buying |
Players who collect limiteds often build their entire outfit around a single rare piece, which makes slot planning essential. If you have a rare limited hat, you need to choose hair and face items that do not conflict with it, and you might want to skip a second hat entirely. The slot system gives you the flexibility to layer accessories around your limited without worrying about accidental replacements, as long as you understand which slots each item occupies.
Free Items and Zero-Robux Options
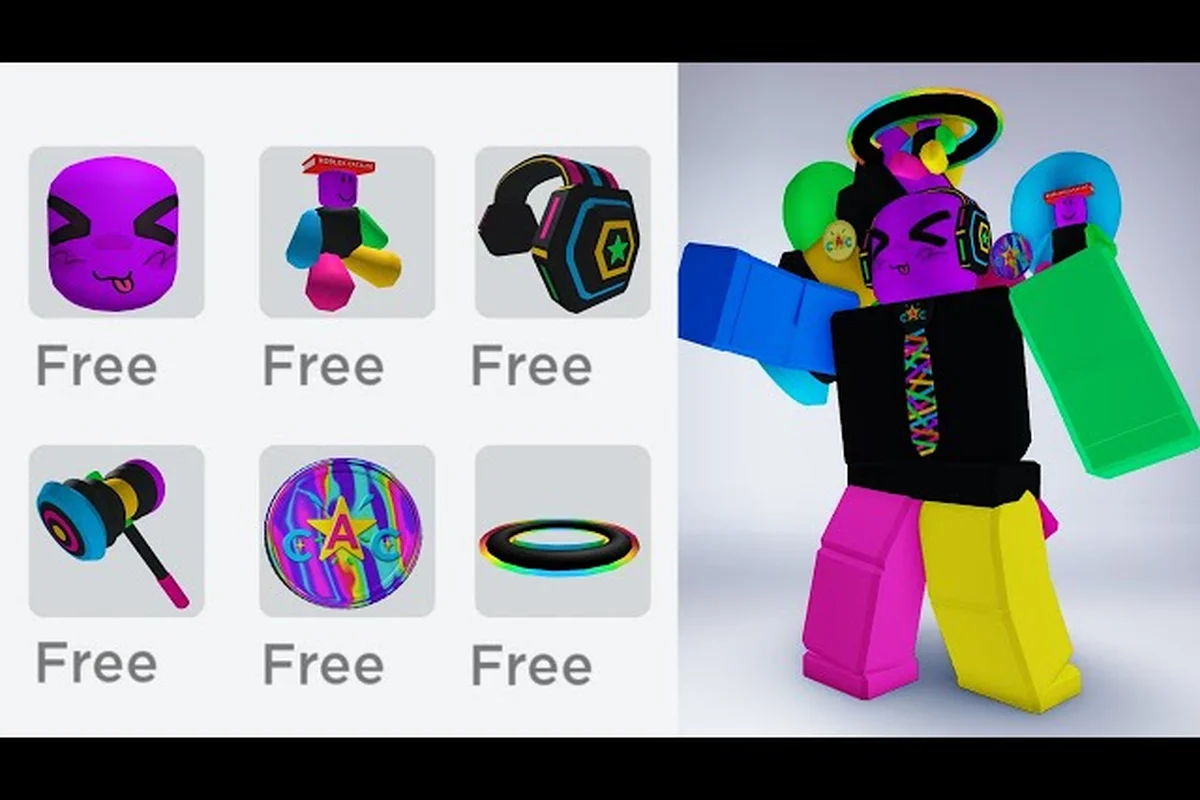
Not every slot requires a Robux investment, because thousands of catalog items are completely free at 0 Robux. This includes all classic faces, many classic shirts and pants, and promotional items that Roblox has released over the years. The in-game price filter lets you show only 0-Robux items, so you can build a full avatar across all slots without spending anything, which is perfect for testing the slot system before committing to paid pieces.
The free items follow the same try-on and inventory-sync rules as paid ones, so you can use them to experiment with slot combinations without any financial risk. This is a great way to learn how the slot system works, because you can try on dozens of free items and see exactly how they interact with each other. For players who want to explore the full range of free catalog items, the 0-Robux filter is the fastest way to discover what is available.
Practical Tips for Managing Your Item Slots
Managing your item slots effectively comes down to understanding the conflict rules and planning your outfit before you start clicking. The most common mistake is trying on a new hat without realizing it will replace your current one, then spending time searching for the old hat in the catalog. To avoid this, keep a mental map of your equipped slots and check the editor's highlighted slots before making changes.
The saved avatar feature is your best friend for slot management, because it lets you store complete outfits and reload them instantly. When you save an avatar, the game records every item in every slot, so you can experiment freely and always return to a known-good look. This is especially useful when you are testing limiteds or expensive items, because you can try them on, compare them to your saved outfit, and decide without losing your current setup.
-
Check slot labels in the item showcase before trying on anything new
-
Use saved avatars to preserve outfits before experimenting with new items
-
Preview limiteds with try-on before committing to a purchase
-
Use bulk purchase for full outfits to save time and avoid missing items
-
Explore free items to learn slot behavior without spending Robux
The bulk purchase feature also helps with slot management, because it lets you buy an entire outfit without worrying about whether you missed a piece. When you assemble a look in the editor and use bulk purchase, the game automatically includes every equipped item, so you can be confident your outfit is complete. This is particularly valuable for new players who are still learning the slot system and might forget to buy a specific accessory.
Building Your First Complete Outfit
Building your first complete outfit is a great way to learn the slot system, because it forces you to think about every position on your avatar. Start with the base items — shirt, pants, and face — then add hair and a hat, and finally layer on accessories like a scarf, belt, and backpack. This order ensures you cover the essential slots first and then fill in the details without conflicts.
The item showcase makes this process easy, because it labels each item with its slot type, so you always know where a piece will land. As you build, check the editor's highlighted slots to see which positions are still empty, and use the try-on system to test combinations before buying. Once you are happy with the look, use the saved avatar feature to store it, and consider bulk purchase if you want to buy everything at once. For a broader overview of what the catalog offers, the complete avatar items guide covers the full range of categories and how they fit together.
Frequently Asked Questions
How many item slots does Catalog Avatar Creator have?
Your avatar has five core slots — hat, hair, face, shirt, and pants — plus five accessory slots for neck, shoulders, waist, front, and back. That gives you ten total positions to fill, and each one holds a single item. Layered clothing and classic clothing share the torso slot, so you can only equip one at a time.
What happens when I try on two items that use the same slot?
The editor replaces the current item with the newest one you tried on, so the old item is removed from your preview. This applies to every slot, including hats, faces, and accessories. If you want to keep the old item, you need to re-equip it manually or use a saved avatar to restore your previous outfit.
Can I bulk purchase an entire outfit in Catalog Avatar Creator?
Yes, the bulk purchase feature uses Roblox's Bulk Purchase API to buy every item in your current outfit with a single checkout. The confirm dialog shows the total Robux price before you commit, and all items sync to your inventory instantly. This is ideal for full outfits where you like the entire look rather than individual pieces.
Do limiteds occupy the same slots as regular items?
Yes, limiteds and limited U items follow the exact same slot rules as regular catalog items. A limited hat goes in the hat slot, a limited face replaces your current face, and limited accessories take their designated positions. The only difference is the price and rarity, not how the item behaves in the editor.
Are there free items for every slot?
Yes — thousands of catalog items are free at 0 Robux, including all classic faces, many classic shirts and pants, and promotional items. Use the in-game price filter to show only 0-Robux items and equip all ten slots—hat, hair, face, shirt, pants, and five accessories—without spending. Free items follow the same try-on and inventory-sync rules as paid ones.